
I’ve been on this kick where I want to be as self sufficient as possible. Making as many things on my own that I can; including bread, granola, snacks etc. For the most part it is going well. The granola I’ve made is delicious and the bread is satisfying. Lately, I have been stuck on yogurt. I have been wanting to make it forever. Every recipe I’ve read says it is so easy and tastes so much better than store bought and is a hell of a lot better for you without all the preservatives that go into it. Finally I decided to give it a try.
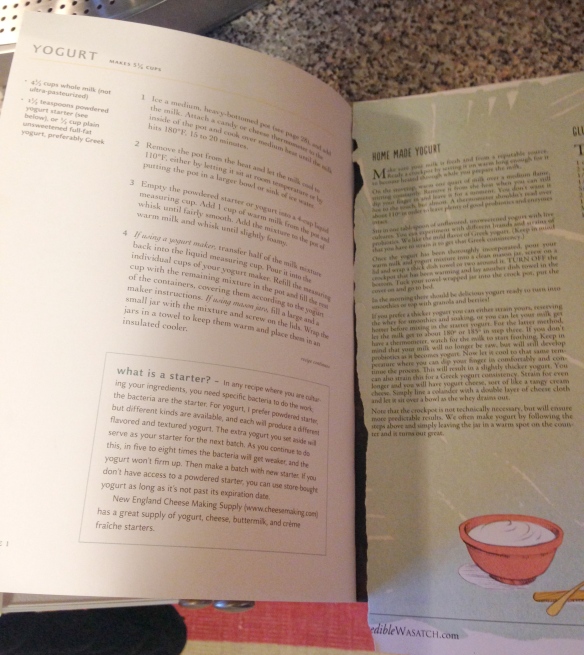
My two recipes.
I compared two recipes that I have, one from The Homemade Pantry (my favorite cook book right now) by Alana Chernila and another that I tore out of Edible Wasatch a magazine from back home in Utah. They both said around the same thing, mirroring each others instructions. This comparison is what gave me the strength to try it out. Basically you heat the milk, let it cool, mix in some store bought yogurt (for the bacteria and enzymes) or a yogurt starter, put it in your containers (mason jars) let it sit somewhere warm (like a slow cooker) and you are good to go! For me, it was not that easy.

Heating the milk to 180 degrees and the letting it cool to 110.

My 1/2 cup greek yogurt!
I patiently waited for the milk to heat up to 180 degrees, let it cool to 110 degrees, mixed in my half cup of greek yogurt that I bought at the store, divvied the mixture up nicely into my little mason jars, put the jars in the warmed slow cooker and waited. I waited for 8 hours before putting the jars in the fridge overnight.

All my cute mason jars. (And thats not mold I swear, just coffee grounds.)
Now, I have to admit that I tried making this twice back to back. The first night I let the yogurt sit for 5 hours before putting it in the fridge overnight. I woke up disappointed in the runny mixture that was not yogurt. I immediately went out and bought some more whole milk to try again, convinced that I just did not let it sit long enough in the incubation period. I was wrong.

Here are my cozy little jars. Lined with tea towels.
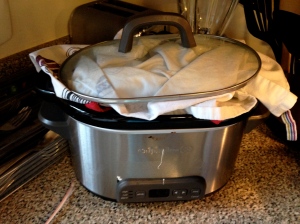
My cozy jars covered in the slow cooker.
I followed the instructions to a T; let the incubation period last longer than before and yet I still woke up mildly disappointed. I’m convinced it was either that the milk I bought was too pasteurized, which wont cause it to thicken properly because the majority of the bacteria is gone, or it is that I used the wrong kind of yogurt, which was not specified in either recipe, leading me to believe any yogurt would be good. I read that even if it is runny it is still good to eat and can be used in smoothies or over granola. So I had some for breakfast with my granola. It was pretty good, but not the consistency I prefer.
Next time I try to make yogurt I will have a powdered starter and a proper yogurt maker. I have decided that will fix my problems and I’m itching to buy one. Eventually I will have one, but for now I’ll have to be content with store bought yogurt.

My runny yogurt, that is still pretty darn good. It looks more like milk than yogurt.
If you do decide to make your own yogurt make sure the milk isn’t ultra-pasteurized. My dad said I should try making it with raw organic milk. Maybe that was the only thing I did wrong. If I try it again I will let you know the outcome. Below is the written recipe and instructions from The Homemade Pantry by Alana Chernila. I condensed it down to the main points.
- 4.5 cups whole milk (not ultra-pasteurized)
- 1.5 teaspoons powdered yogurt starter or 1/2 cup plain unsweetened full-fat yogurt
- heat milk with a candy or cheese thermometer over medium heat until the milk hits 180 degrees, 15-20 min.
- remove pot from heat and let milk cool to 110 degrees
- empty the powdered yogurt starter or yogurt into a 4-cup liquid measuring cup. Add 1 cup warm milk from the pot and whisk until fairly smooth. Add the mixture to the pot of warm milk and whisk until slightly foamy.
- if using a yogurt maker, transfer half of the milk mixture back into the liquid measuring cup and pour into individual cups of yogurt maker. Continue to refill according to yogurt maker instructions
- if using mason jars, fill a large jar and a small jar (or a bunch of jars) and screw the lids tight. Wrap jars in a towel to keep warm or place in an insulated cooler, or a slow cooker that has been warming. If using a slow cooker make sure to turn it off before putting jars in.
- Wait for 5 hours. Check to see if yogurt is firm. If not allow to sit for two more hours. If it is put in the fridge for at least 2 hours before serving. This is easiest done overnight where you can wake up and have your delicious yogurt!
Hopefully you have better luck than I did!


I tried this once and the first time I made cheese on accident 😦
But! You can strain it with cheesecloth/strainer and it gets thicker! Just put in a strainer overnight and you will have a bunch of whey and thicker consistency yogurt! If it is not too thin to go through the strainer.
Overall though, I’ve decided it’s way too much work to do again haha